![Membership Toolkit: Live Streaming Edition [October 2020]](https://www.membershipgeeks.com/wp-content/uploads/2020/09/Membership-Toolkit-Oct-2020_Podcast.png)
In this installment of the Membership Toolkit, we're doing things a little differently…
While usually the Toolkit is a roundup of a 3-4 top recommendations for various tools to help you in your membership; we're dedicating this month's edition to breaking down the setup we use for live video streaming.
Earlier this year, we undertook a huge update to our streaming and video recording setup and process – you can see an example of it in action below:
https://www.facebook.com/218555618305440/videos/353838315603184
Not only have we received a lot of positive feedback on our new and improved video – we also get asked, literally every time we go live – for details on the tech and software we're using.
So… here is a full rundown of our live video streaming setup…
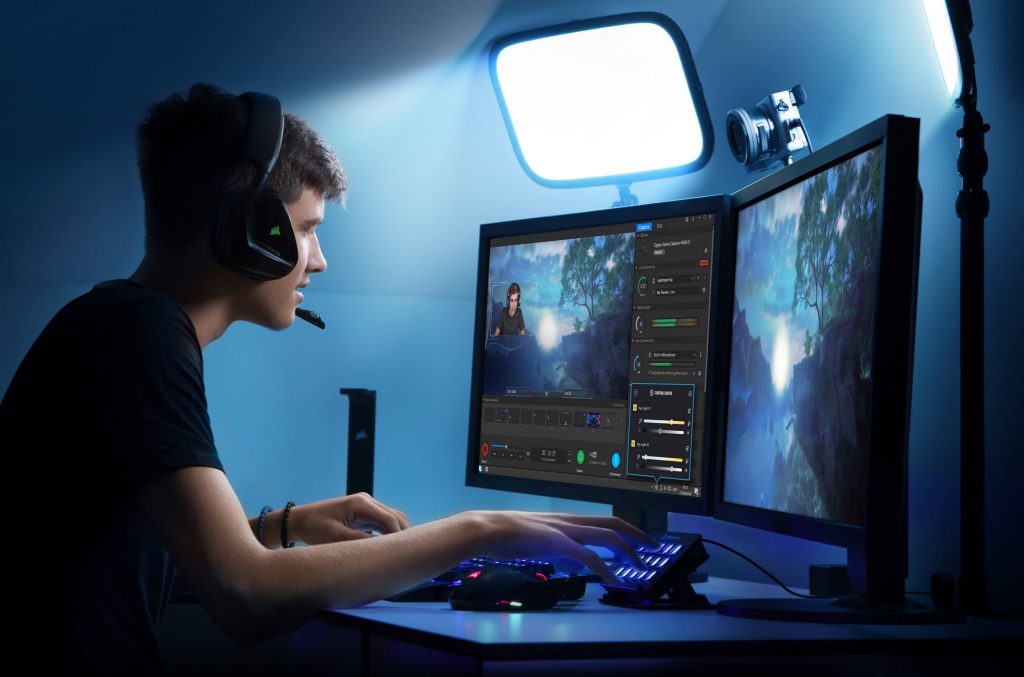
Camera: Sony a6400
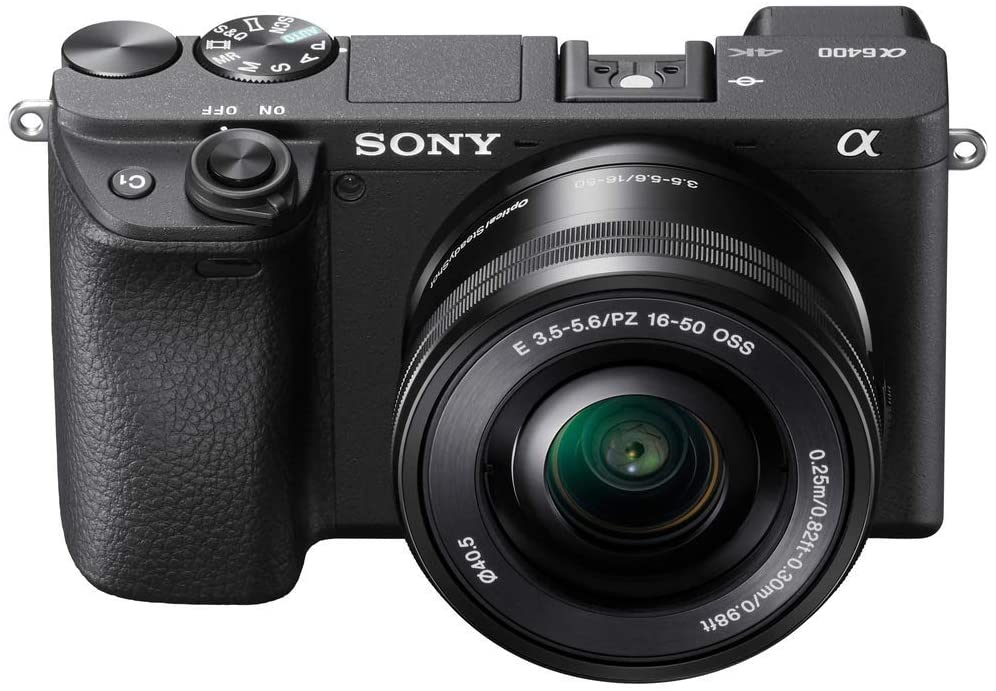
The biggest difference maker in our setup is using a DSLR camera rather than a webcam.
And the Sony a6400 came very highly recommended.
As most of our videos will feature both myself and Callie on screen, we need a wider shot than if we were just creating solo videos.
As such, it was recommended that we use a 30mm lens: Sigma 30mm F1.4 Contemporary DC DN Lens for Sony
Note: I did originally buy the 16mm Sigma lens for the first videos I did using the new setup, where I was shooting purely solo. You can see the results in the video below:
Keep in mind, that in the above video, the camera was only 40-50cm away from me; whereas with the 30mm lebs as seen in the first video further up this page the camera is probably around 2 metres away.
One other vital piece of kit you'll need is a dummy battery.
Basically this gives you a way to connect your camera to main power rather than running it from a battery (which is a no-no due to the guaranteed overheating and also how much streaming will drain your battery power).
Video Capture: Elgato HD60 S+
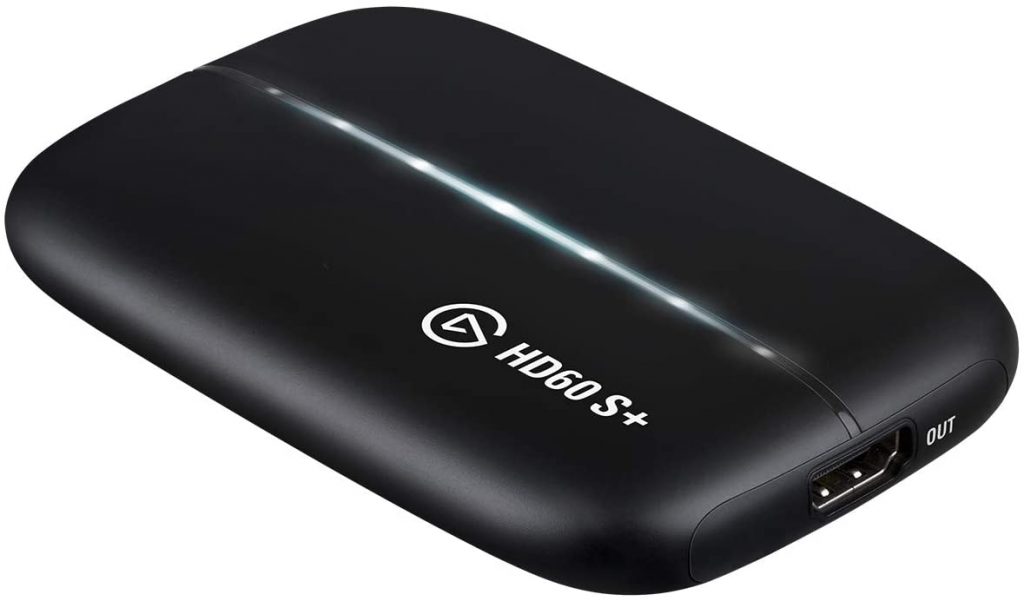
DSLR cameras can't just be plugged in and used the same way as a webcam.
You're going to need a video capture card to adapt them for this purpose.
This does the necessary magic on the video signal from your camera to make it appropriate for use as a webcam, and provides you with the means to connect it to your desktop or laptop via USB.
The Elgato HD60 S+ does exactly what you need on that front, and also gives you a way to run a signal to a second monitor or TV, which you can use to preview the shot (we have a small TV positioned out of shot for this very purpose)
Mics: Shure SM7B
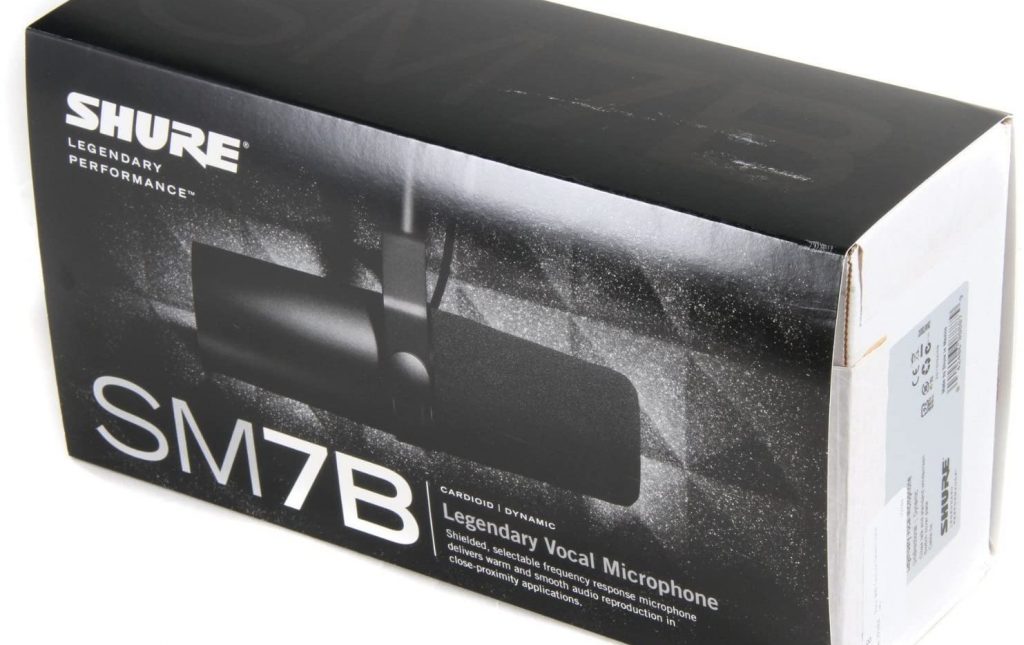
This is one part of our setup where you could definitely plum for a cheaper alternative – because we've over-indulged ourselves a little on the mics we use!
A big reason for this is that we also use these mics for podcasting; and it's with our podcast in mind that we have invested in broadcast quality audio.
If you're only using your mics for live-streaming, however, then the Shure SM7B's are probably overkill.
Good audio is definitely worth spending money on – but a lower priced option like a Blue Yeti or Rode Podcaster will do the trick for most people.
Mixer: Rodecaster Pro
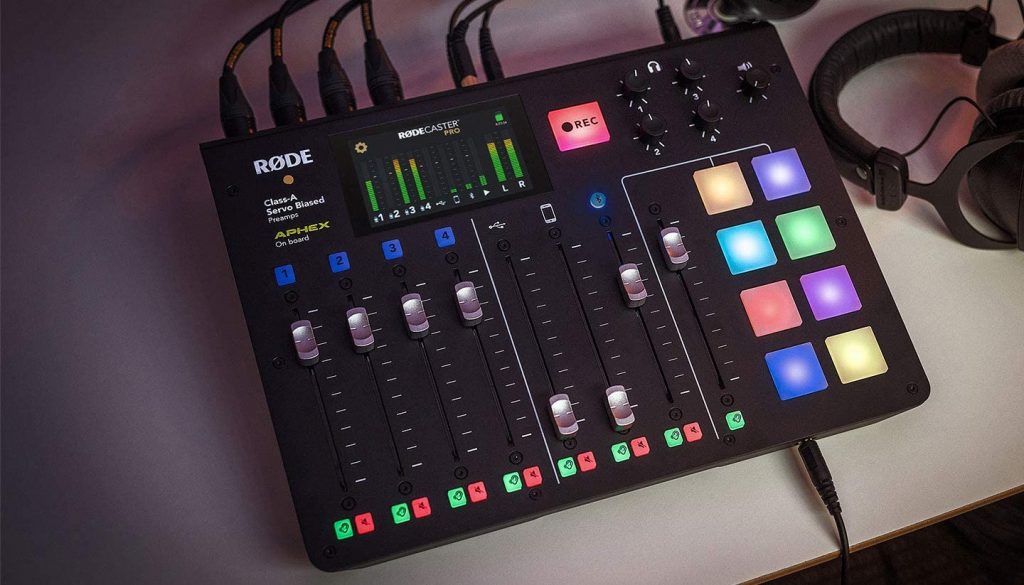
Because of our choice of mic (which uses traditional “XLR” cables rather than USB) we also need a mixing deck to process the audio before it's fed to our computer.
Once again a big factor in choosing this setup is because it's multi-purpose: designed with podcasting, live streaming and regular video production in mind.
The mixer does come in handy for us in particular due to the difference between my voice and Callie's voice.
Callie speaks a LOT quieter and softer than I do – so having a mixer means we can adjust the volume levels of each of our mics to balance them out before they're sent to our desktop.
But for most people, this piece of kit (while very cool) will be redundant.
Prompter: Teleprompter Pad
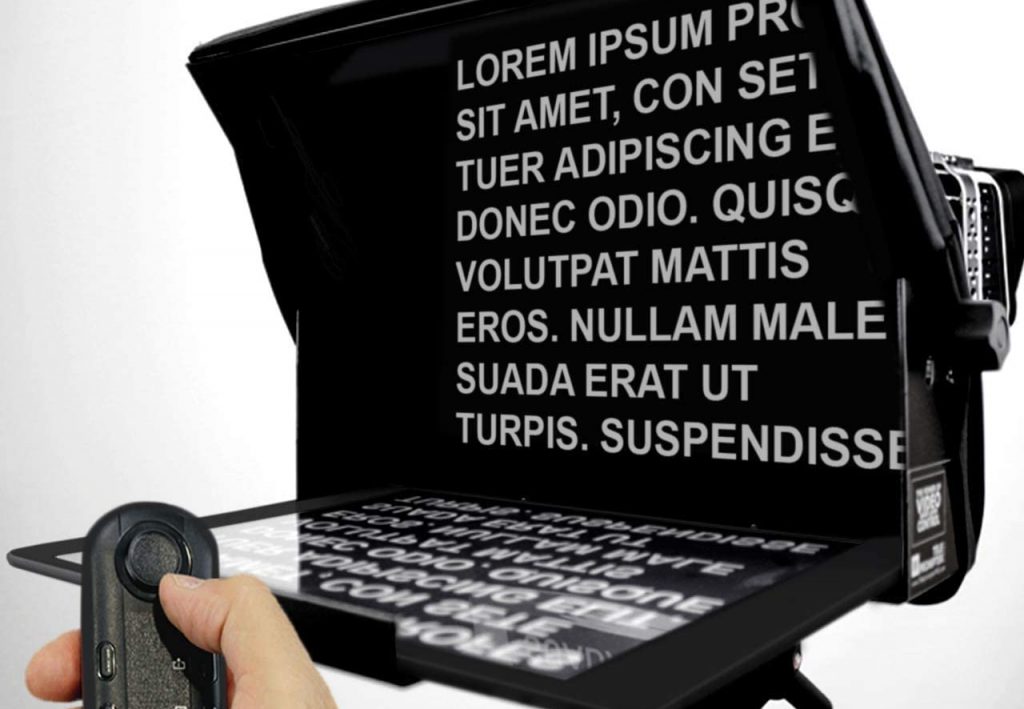
Since we started using a teleprompter for our videos, production time has been cut down to a third of what it previously was.
We typically only use a teleprompter for pre-recorded videos rather than live-streaming, however there have been times (when doing more training-based live videos) when we've used it for the latter too.
Ours requires the use of an iPad, on which you'll load your script or notes into a prompter app – we use the iCue app.
And then you control the speed and progress of the prompter text via a small remote control that comes with the teleprompter kit.
Mounting: Manfrotto Magic Arm + Super Clamp
Our setup involves a large, square conference room table, with the camera and teleprompter mounted onto the far end.
This works better for us for our multi-purpose needs, and to accommodate the various bits of kit we have without the need for permanent fixings or a forest of tripods.
As such, we use a clamp attached to the desk, which then holds an adjustable ‘arm' to position the camera in precisely the right spot.
It's more expensive and a little more “fiddly” than a tripod, but it also works better for our needs.
Lighting: Elgato Key Lights
Good lighting can make the world of difference for your video quality.
A video filmed on an average camera with good use of lighting will look significantly better than a great camera paired with terrible lighting.
We use 2 Elgato Key Lights – one on each side to balance things out.
We much prefer theses to the typical “box lights”, not just because they're more compact and robust, but also because you can customise the brightness and the tone/warmth too to fit your overall composition and style.
In addition we also use coloured LED floodlights, positioned to shine on our backdrop with a different colour on each in order to create a gradient effect.
We also use ‘puck lights' on the shelves within our backdrop, but to be honest we're going to be looking for an alternative as they devour batteries while not really giving the result we want. We'll likely just double-up on floodlights or try repositioning them.
Streaming Software: eCamm Live
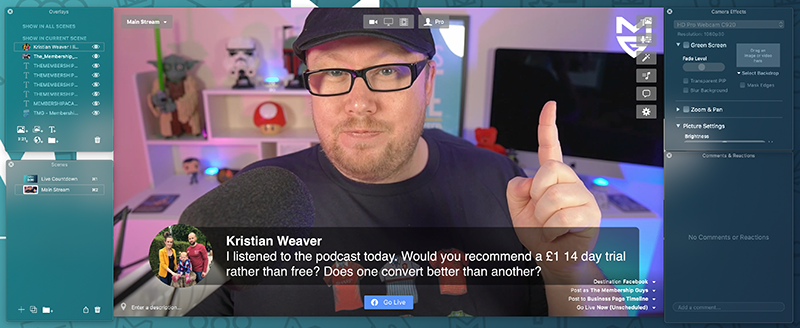
It was our experience of using Ecamm Live earlier this year that inspired us to revisit our live streaming strategy.
The ease with which it enables you to create a seriously pro-level live stream production got us excited about live video again – and that kicked off my ‘pandemic project' of uplevelling our streaming serup.
I've previously featured a more detailed overview of Ecamm Live here – one of the very handy things you can do is control it via the Elgato Stream Deck, which is another useful piece of kit that lets you create a customised control pad, where you can fire off specific actions and commands at the click of a button.

So you can use it to switch the camera you're using, to dim your Elgato Key Lights, to fire off a tweak, start and end your stream and a LOT more.
This enables us to manage a multi-faceted live stream with fancy transitions, effects, intro and all that jazz completely solo with a huge degree of ease.
Video Hosting and Streaming: Vimeo Premium
And the final piece of the puzzle is our video hosting service, Vimeo.
I've included this because while a lot of our live streaming is done via Facebook Live, and therefore doesn't require any other streaming service – the majority of our live video is actually delivered inside our membership in the form of workshops, member Q&A's and other types of live content for which Facebook simply would not work.
Fortunately Vimeo – who we already use for hosting our course videos – also have the ability to support live streaming on their ‘Premium' level.
It's not cheap, far from it; however the stability and stream quality absolutely blows YouTube Live (which we were previously using) out of the water. And that's not even mentioning the security and privacy options (vital when streaming membership content).
And the great thing is, once our live stream is over, the recording is pretty much instantly saved directly into our Vimeo hosting account, so we can add it to our archives within minutes of the live session ending.
Final advice…
So there you have it, a full rundown of our live streaming setup.
Keep in mind that, as mentioned throughout, we needed something that could be used for multiple purposes – not just live streaming – so some of our decisions probably go beyond what the average person would need.
If you're just getting started with live video, or indeed video in general, you don't need all the fancy gubbins we're using.
We started with a much simpler setup than this – a webcam and mic are all you really need to get going.
Heck, you can get started with using nothing more than your cell phone! Do what you can, with what you have.
And to wrap things up, I just want to give a huge shout out to our friends at Live Streaming Pros, whose advice and recommendations were absolutely pivotal for us getting our shiz together with our video setup. If you want to really perfect your live streaming game – whether you're just getting started or ready to level up – they're the folks to turn to.